Julianne

0

ROBIN HOOD HAT

by

One of my Burning Man camp-mates called me up and said “My production company needs a hat replicated, and we need it in two days!” and I said “OK,” and so I made a Robin Hood hat.

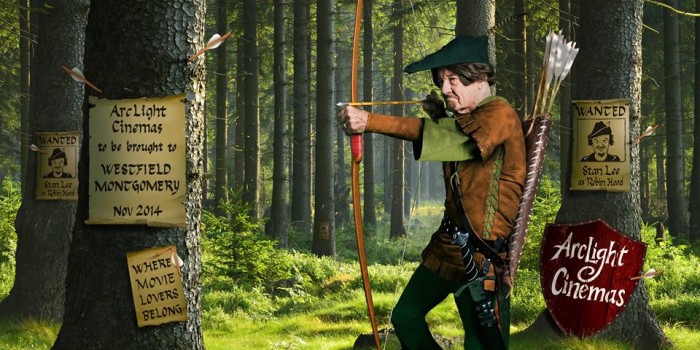
But maybe a little more context first? Stan Lee did a photoshoot in which he dressed up as Errol Flynn’s Robin Hood, as a promotion for World of Heroes that would be on display in ArcLight Theaters (You can see my friend Paul on the floor behind Stan in the video).

stan lee

They wanted to display some artifacts from the shoot in selected theaters, but the original hat was only a rental and could not go on tour. So it was my job to create a replica that would be on display.

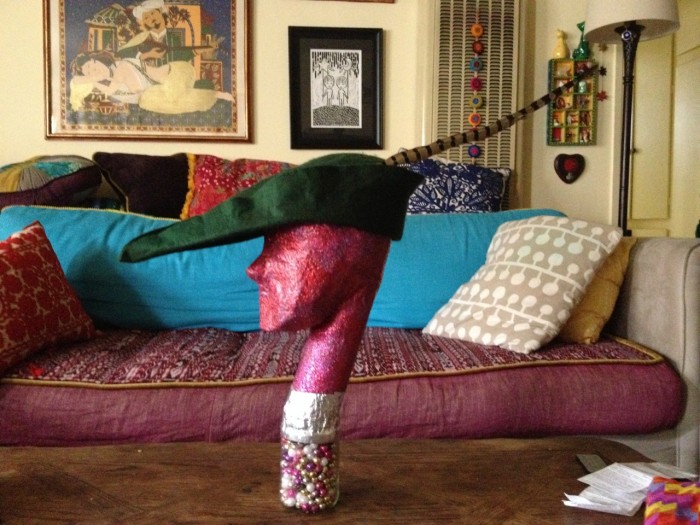
Robin Hood hat, made by Julianne

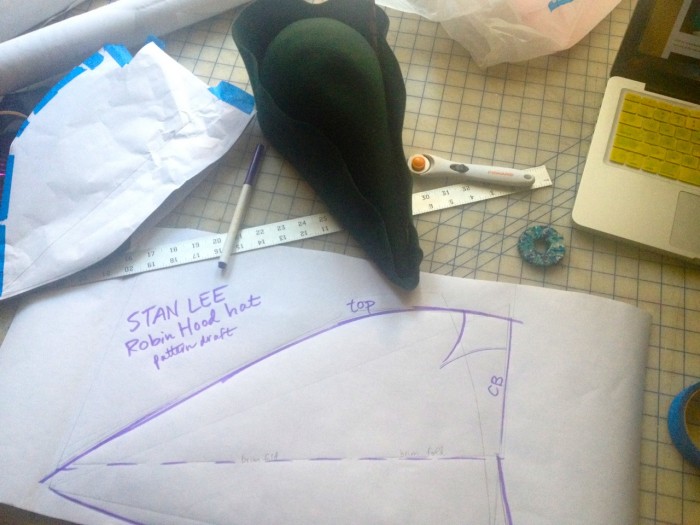
I was on a serious time crunch, and the only felt I could find was nylon. I tried tinting the fabric in brown dye, which totally didn’t work. Color correction was shelved for later. As a starting point, I used this tutorial to make a sample, and tweaked the pattern from there.

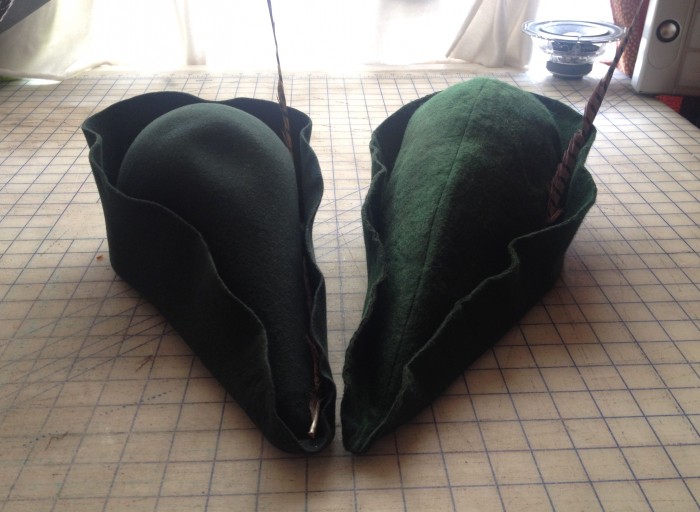
In order to recreate the structure of the blocked hat, I made the hat double layered, and fused the two pieces of felt together with iron-on bonding paper. I added fabric glue to the inside of the crown as a sizing, and then gave the entire hat a wash of watered down acrylic paint to make the color more accurate.

Robin Hood hat, made by Julianne

Even though my hat was only made for display, it will probably go to Stan Lee when the campaign is over. Neato!

Robin Hood hat, made by Julianne

This project was a fun and challenging mix of sewing and craft skills. I wasn’t really sure how I would make it when I started, but I was confident every step of the way. I made the deadline, I got the check, and this project was a total success!
2

CHEVRON GENIE PANTS

by

Jeez, this should have been posted in July! Lucky for current-me, cause I’m swamped with projects for clients that aren’t bloggy. I have a few big projects coming to completion soon, so you’ll see how busy I’ve been!

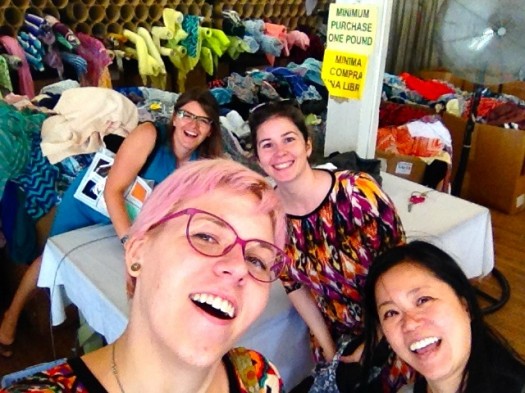
A few weeks ago I went shopping in the fabric district with some friends, and naturally we ended up at Michael Levine Loft.

fabric shopping

Aleah, Sandra, Nhi, and me

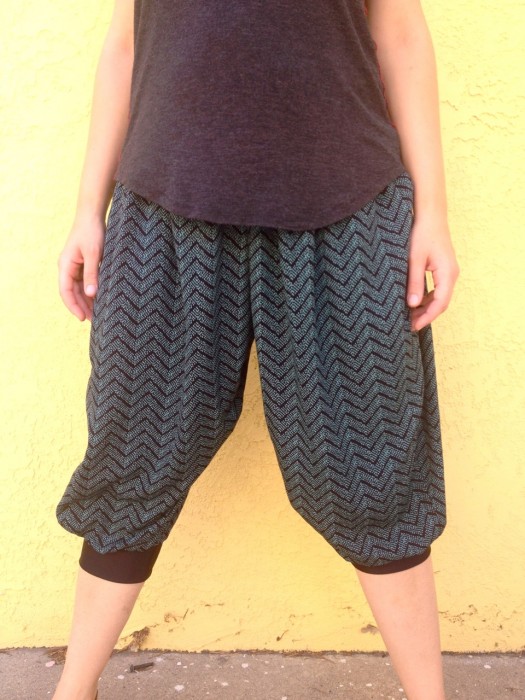
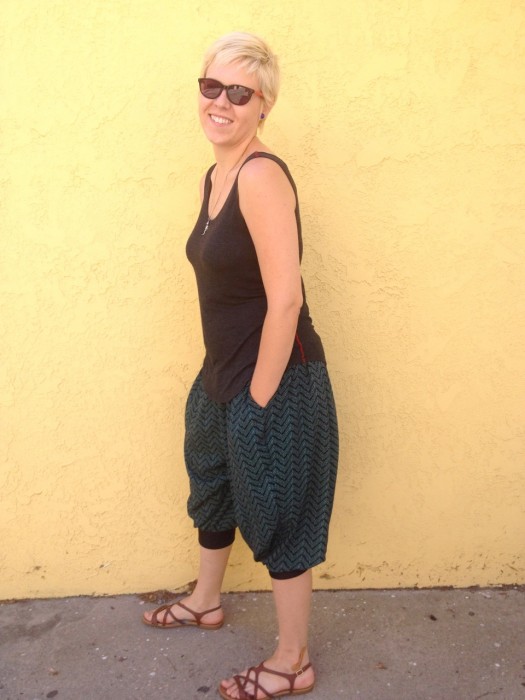
Fabric was $2.50/lb, and I walked away with 11.85 lb (Sandra had a little more). Among my haul was a swishy rayon with black and green chevrons. I wasn’t sure about the colors, because it’s dark and I rarely wear green, but the fabric was perfect for some new genie pants.

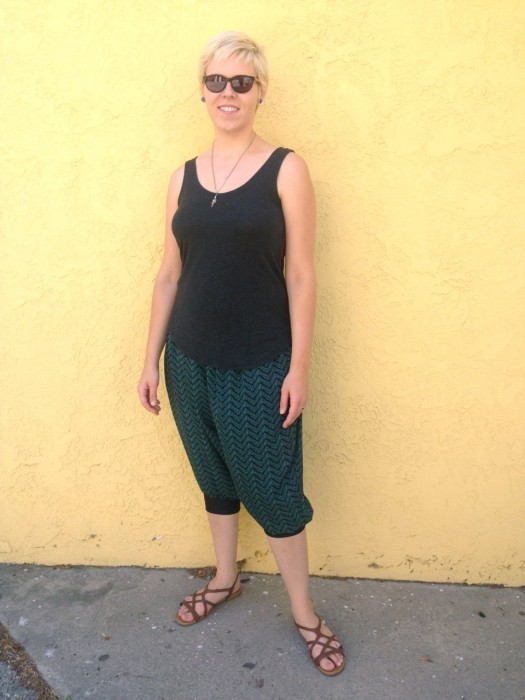
chevron genie pants, made by Juliannechevron genie pants, made by Julianne

chevron genie pants, made by Julianne

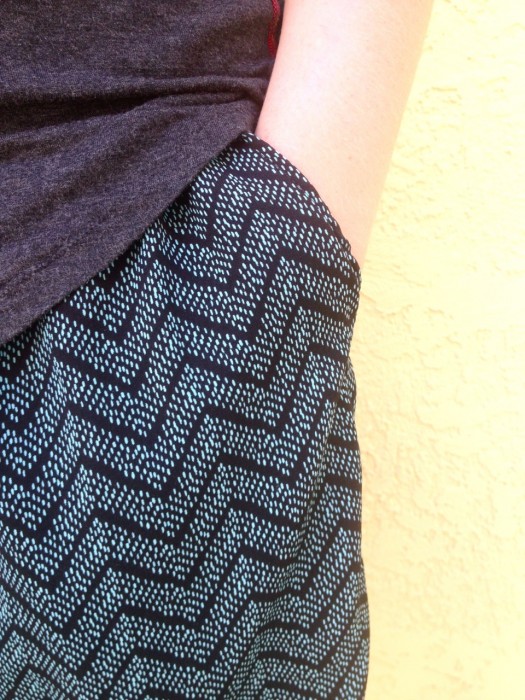
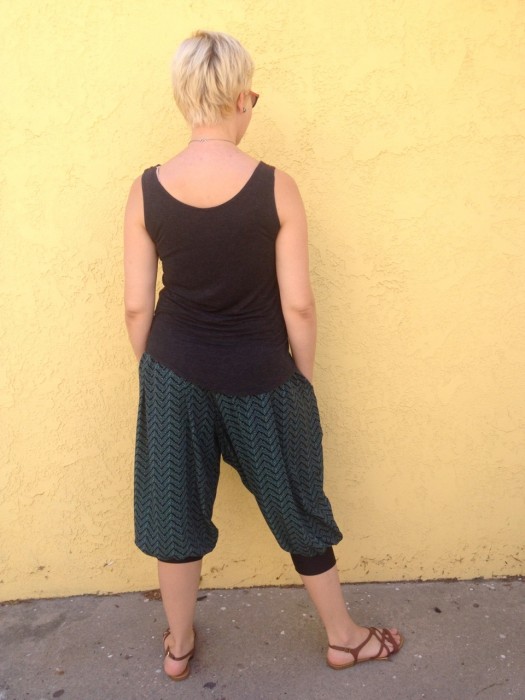
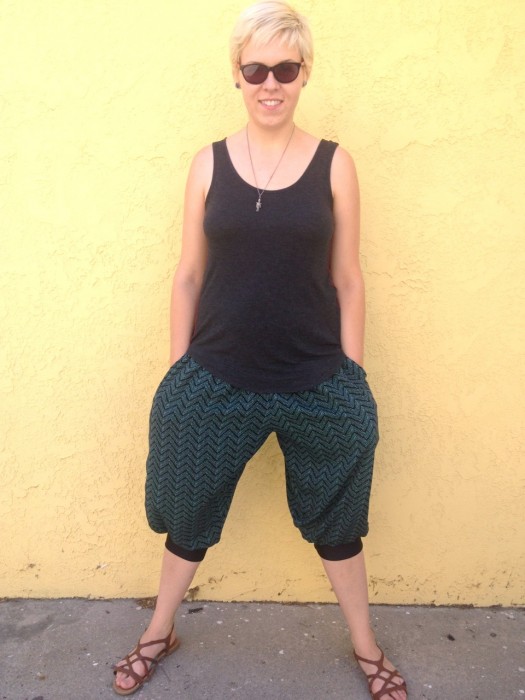
I followed my own DIY genie pants tutorial, with a couple modifications. I made these pants with pockets and side seams, and there will be a follow-up tutorial for that.

chevron genie pants, made by JulianneThe other departure is that I tapered the legs about 4″ from the inseam and side seams on both front and back. I wanted these pants to be casual lounge wear, and the super puffy legs felt so conspicuous.

chevron genie pants, made by Julianne I also made the tank top. It was a $1 remnant, and super smooth charcoal gray jersey (with rayon?). The seams were serged with red thread on the right side of the shirt, and then I topstitched them to lay flat. It’s strange to see myself wearing all dark colors!

chevron genie pants, made by Julianne

They’re comfortable and casual and I love them!

Another word from current-me: after a lot of wear, this rayon fabric is starting to pill. Also the elastic waistband is wearing out a bit; I’ll replace this with a higher-quality spadex. I still have a bunch of this fabric, but now I’m reluctant to make anything that requires a lot of effort.

0

YELLOW JACKET RECON

by

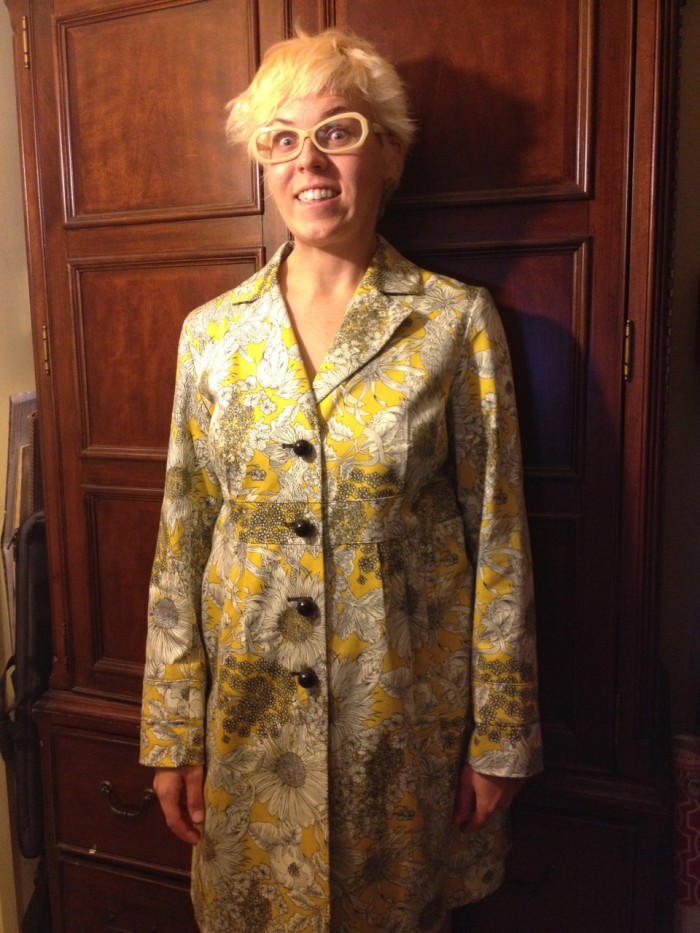
Last winter I found this yellow coat at a thrift store. It’s part of the Liberty of London collection for Target, and I liked the color and fabric, but wasn’t nuts about the cut. The two-piece notched collar does not work for me at all.

Here’s the original coat:

liberty coatliberty coat

But luckily my jacket doesn’t have that awful print repeat in the product photo. There would be no saving it then.

yellow jacket, made by Julianne

 Not exactly the most flattering shape, plus you know I can’t just wear something off the rack.

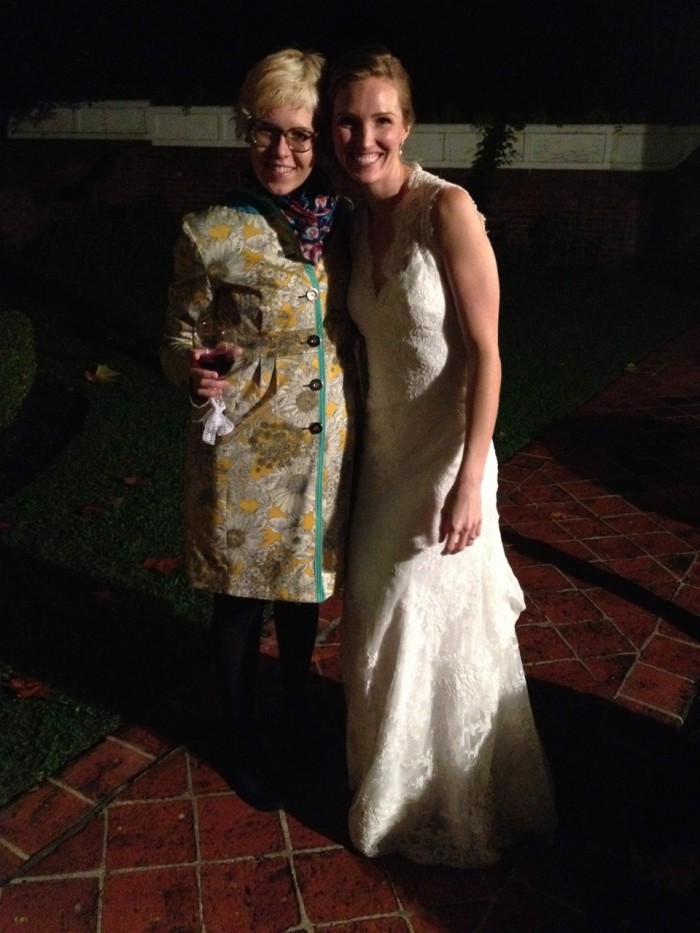
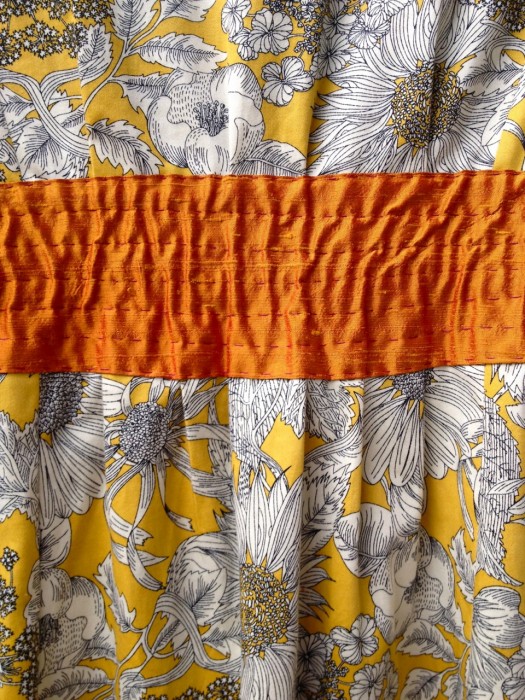
First thing I did was to cut off the collar, which necessitated binding the raw edge. I also added a faux-yoke for aesthetic reasons. I put in two new buttonholes so that the coat could be buttoned all the way to the top, replaced the black ball buttons with silver plated flat buttons, and I added an extra pleat at the back. I wore the jacket around rainy Richmond VA for my cousin’s wedding, and then forgot about it for a year.

yellow jacket, made by Julianne

yellow jacket, made by Julianne

yellow jacket, made by Julianne

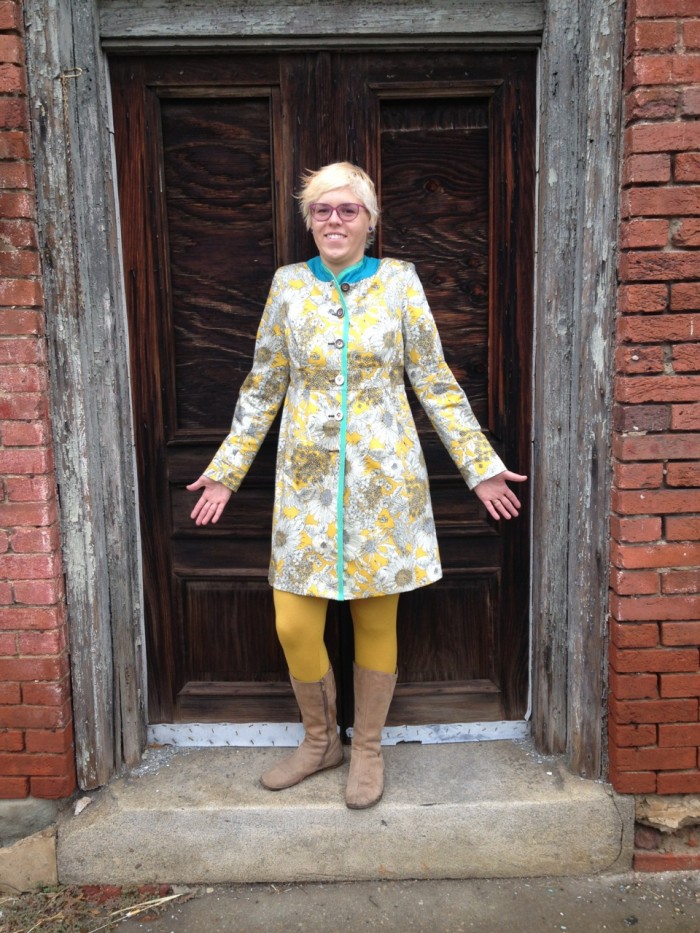
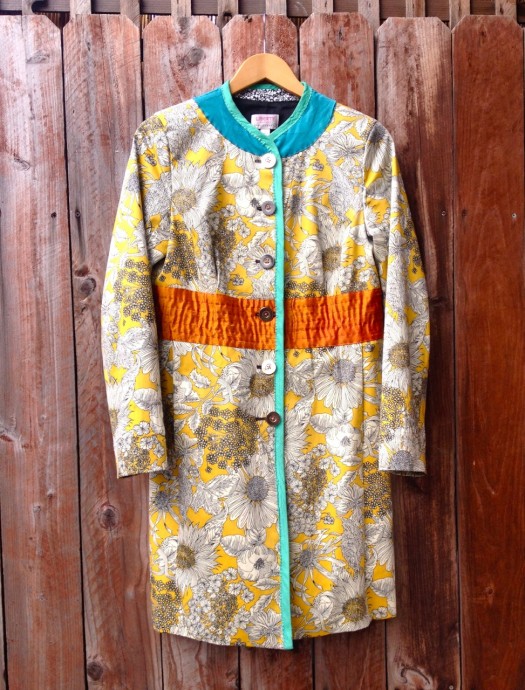
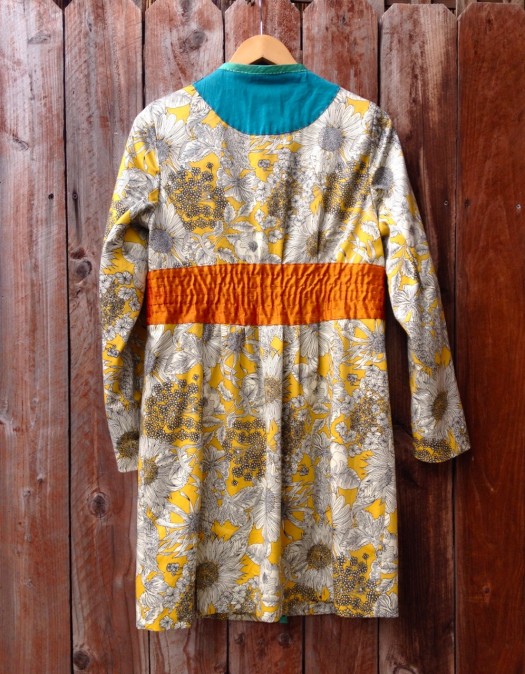
Round 2 of renovations began with opening the lining and re-doing that CB pleat. I added the band to lower the empire waist down to my natural waist, which is so much more flattering on my body. The fabric is silk dupioni from my wedding skirt, and I love the way it plays off the yellow cotton.

yellow jacket recon, made by Julianne

I tapered the back seams to eliminate some of the cocoon shape. The sleeve caps were lowered at the same time I narrowed the shoulders, and I took in the bust of the jacket about 1″. I eliminated pleats at the front and inserted pockets into the seams.

yellow jacket recon, made by Julianne

I’m pretty impressed at the quality construction of this garment. I don’t know what the Target retail price was, but even their designer collections are inexpensive (I paid $20, which was my entire thrifty budget for the excursion). The sleeves are set in with a braided cotton tape to prevent warping, the stitching is all very even and careful, and the fabric feels like a quality cotton.

yellow jacket recon, made by Julianne

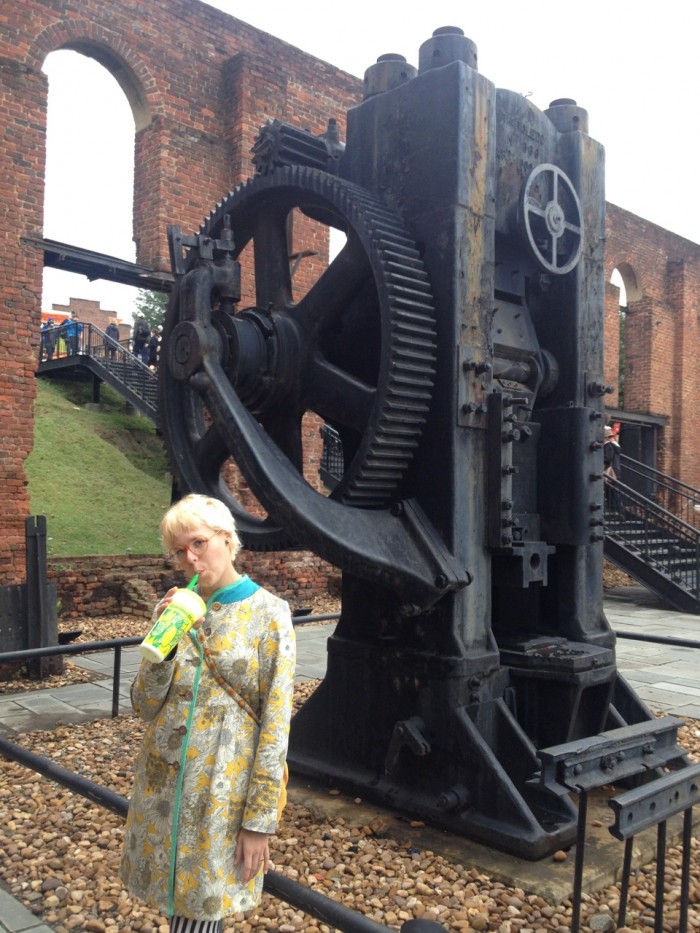
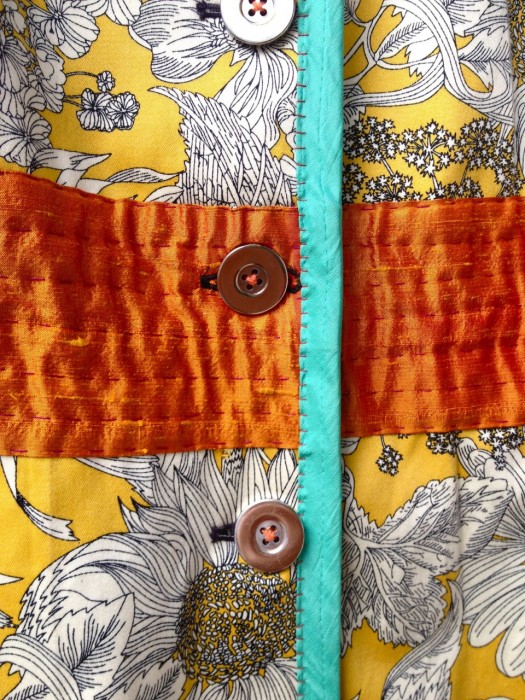
The front binding needs some ironing. It had been machine stitched on, but the bias warped and looked cheap. Instead I used a whip stitch in red thread, which is what I’d always wanted to do. yellow jacket recon, made by Julianne

I’m not quite finished though. As much as I love the floral print, I think it’s a little overwhelming for a whole coat. I’m thinking about replacing the set-in sleeves with raglan sleeves, probably a similar color to the belt. I have some bright orange cotton twill that could be toned down by a quick dip in a black dye bath, but California is in a serious drought and I don’t feel good about how much water will be required to wash out black dye. I dunno, it’s wearable with the current sleeve, so who knows when the raglan will happen.

Also those silver buttons are just temporary; I’m on the hunt for 1″ gold buttons!

1 2 12 13 14 15 16 17 18 19 20 95 96